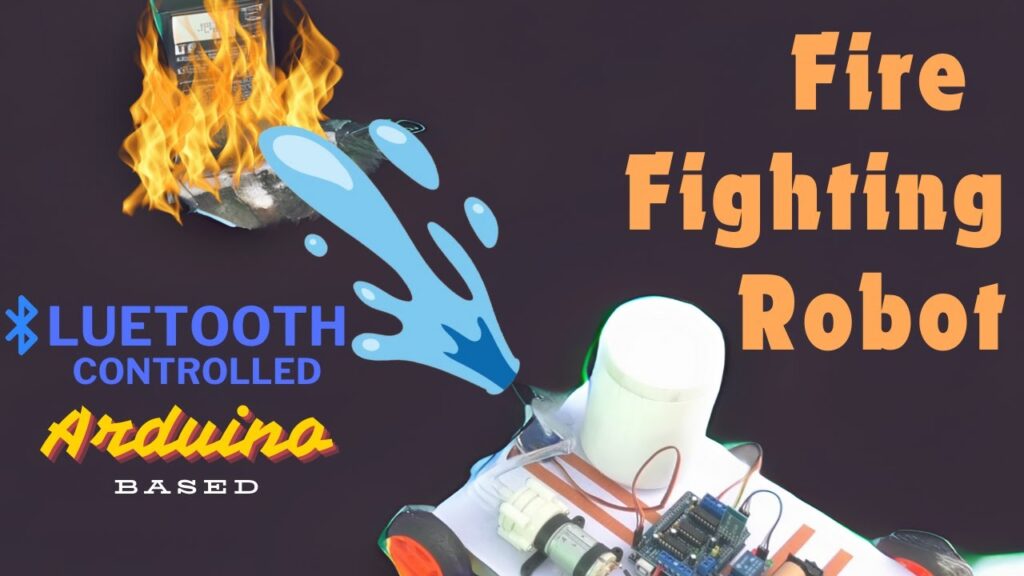
How to Make Fire Fighting Robots Using Arduino?
Ever thought about building a robot that can combat fires? Fire-fighting robots are incredible tools that can navigate hazardous environments to extinguish flames, ensuring safety and minimizing risks for humans. In this guide, we’ll explore how you can create your own fire-fighting robot using Arduino, a powerful and user-friendly microcontroller.
Understanding the Basics
Before diving into the build, let’s understand what Arduino is and the essential components you’ll need.
What is Arduino?
Arduino is an open-source electronics platform that makes creating interactive projects simple. It’s the brain of your robot, allowing you to program and control various components.
Key Components Required for a Fire-Fighting Robot
To build a fire-fighting robot, you’ll need:
- Arduino board
- Flame sensors to detect fire
- Temperature sensors for heat detection
- Motors and wheels for movement
- Water pump to extinguish fire
- Chassis to house components
- Power supply to power the system
Planning Your Fire Fighting Robot
Before assembling, plan your robot’s objectives and design layout. Decide whether it will be autonomous or remote-controlled and choose a compact, sturdy design to navigate tight spaces.

Hardware Requirements
Here’s a detailed list of what you’ll need:
- Arduino Uno or similar
- Flame sensor modules
- Temperature sensors
- L293D motor driver module
- DC motors and wheels
- Water pump and tubing
- Battery pack (7.4V or 12V)
- Screwdriver, soldering iron, and wires
Software Requirements
Install the Arduino IDE on your computer and download necessary libraries for flame and temperature sensors. Familiarity with basic programming will help here.
Step-by-Step Assembly
Step 1: Preparing the Chassis
Start by assembling the chassis. Attach the wheels and secure the Arduino board to the base. Ensure the design is compact and sturdy.
Step 2: Wiring the Components
- Connect the flame sensors to the Arduino’s analog pins.
- Wire the motors through the motor driver module.
- Attach the water pump to a relay module and connect it to the Arduino.
Step 3: Installing the Power Supply
Choose batteries that can supply consistent power. Secure them safely to avoid disconnections during operation.
Programming the Robot
Writing the Code
The code involves three main functions:
- Detecting flames using sensor input.
- Controlling motor direction for navigation.
- Activating the water pump to extinguish fire.
Here’s a basic snippet for flame detection:
int flamePin = A0;
void setup() {
pinMode(flamePin, INPUT);
Serial.begin(9600);
}
void loop() {
int flameValue = analogRead(flamePin);
if (flameValue > threshold) {
Serial.println(“Flame detected!”);
// Add motor and pump activation code here
}
}
Uploading and Testing
Once the code is ready, upload it to the Arduino using the IDE. Test each function individually—check if the sensors detect fire, the motors navigate properly, and the pump activates as intended.
Enhancing the Robot
You can add features like wireless control using Bluetooth or Wi-Fi modules. Additional sensors, like gas sensors, can improve detection accuracy.
Real-World Applications
Fire-fighting robots are used in:
- Residential and industrial safety
- Firefighting missions in hazardous environments
- Disaster response operations
Conclusion
Building a fire-fighting robot using Arduino is an exciting project that combines creativity with technical skills. Not only does it enhance safety, but it also showcases the incredible potential of robotics in solving real-world problems. So, gear up and let your innovation spark!
FAQs
1. What are the primary challenges in building a fire-fighting robot?
The main challenges include sensor accuracy, power management, and ensuring the robot navigates effectively in complex environments.
2. Can beginners build this robot?
Absolutely! With proper guidance and resources, even beginners can build a functional fire-fighting robot.
3. What is the cost of making such a robot?
The cost varies based on the components, but a basic model can be built for around $50-$100.
4. How can this robot be scaled for industrial use?
By incorporating advanced sensors, AI algorithms, and robust hardware, the robot can handle larger-scale operations.

